
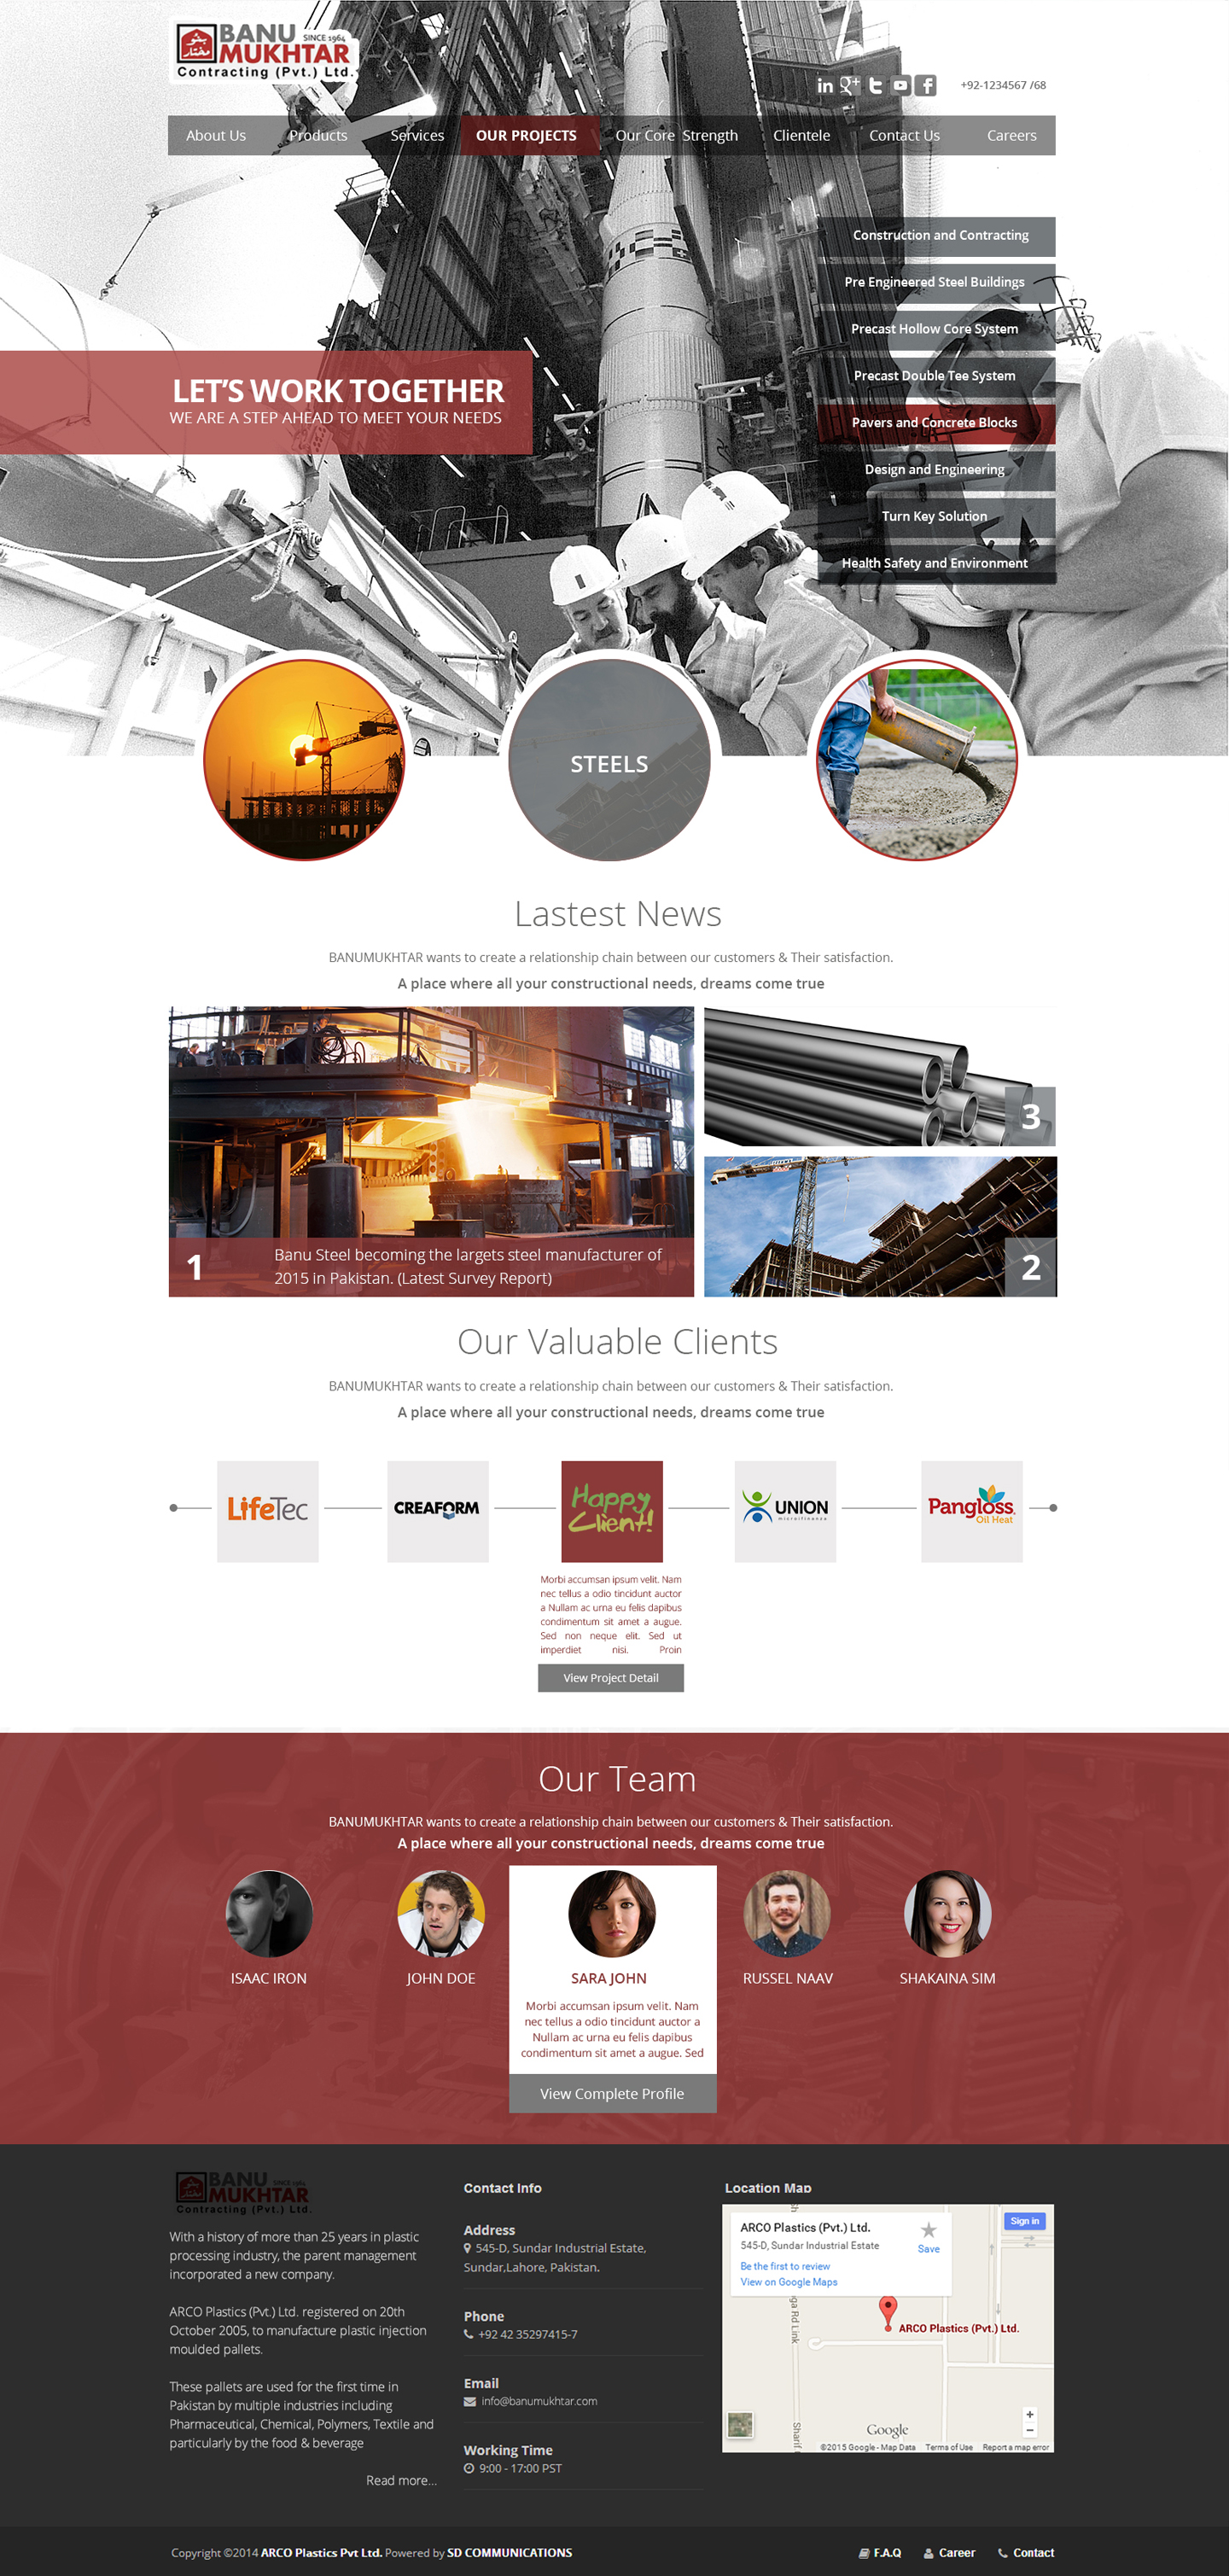
SD Communications - As part of a project, I Designed & Developed the complete web project for Banu Mukhtar Contracting Pvt) Ltd. This project completely is introduction about the services offered by Banu Mukhtar.
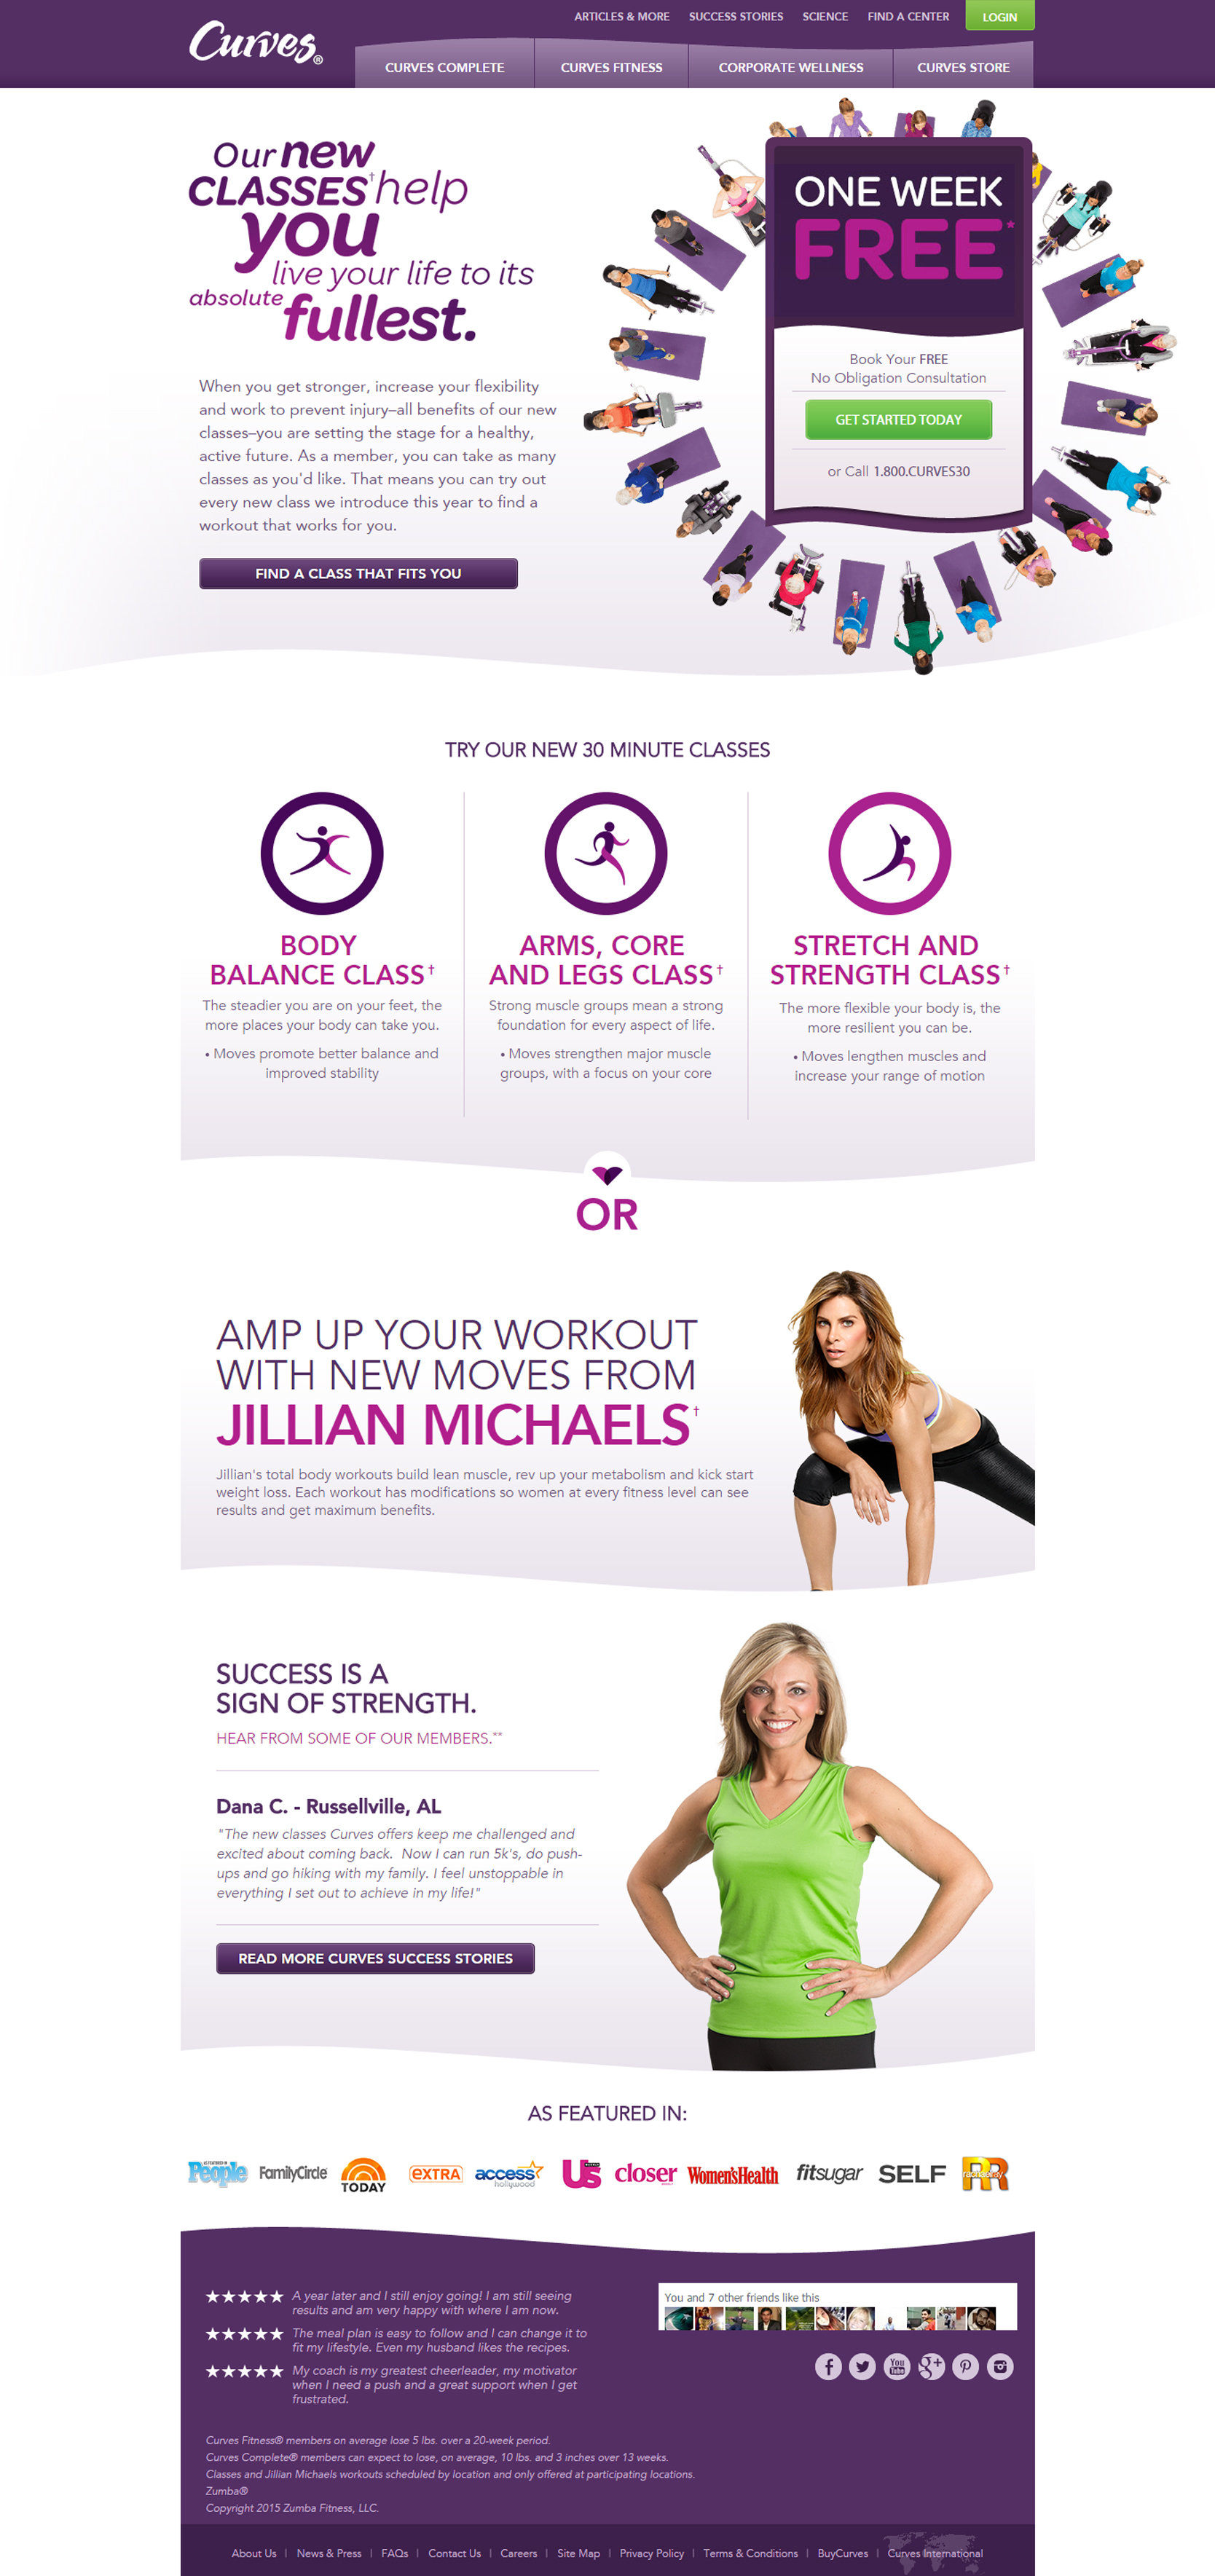
H2Wellness - Curves is a light curvy design and Health & Fitness based company. Its a fully dynamic web portal which includes of multiple API's and programming.
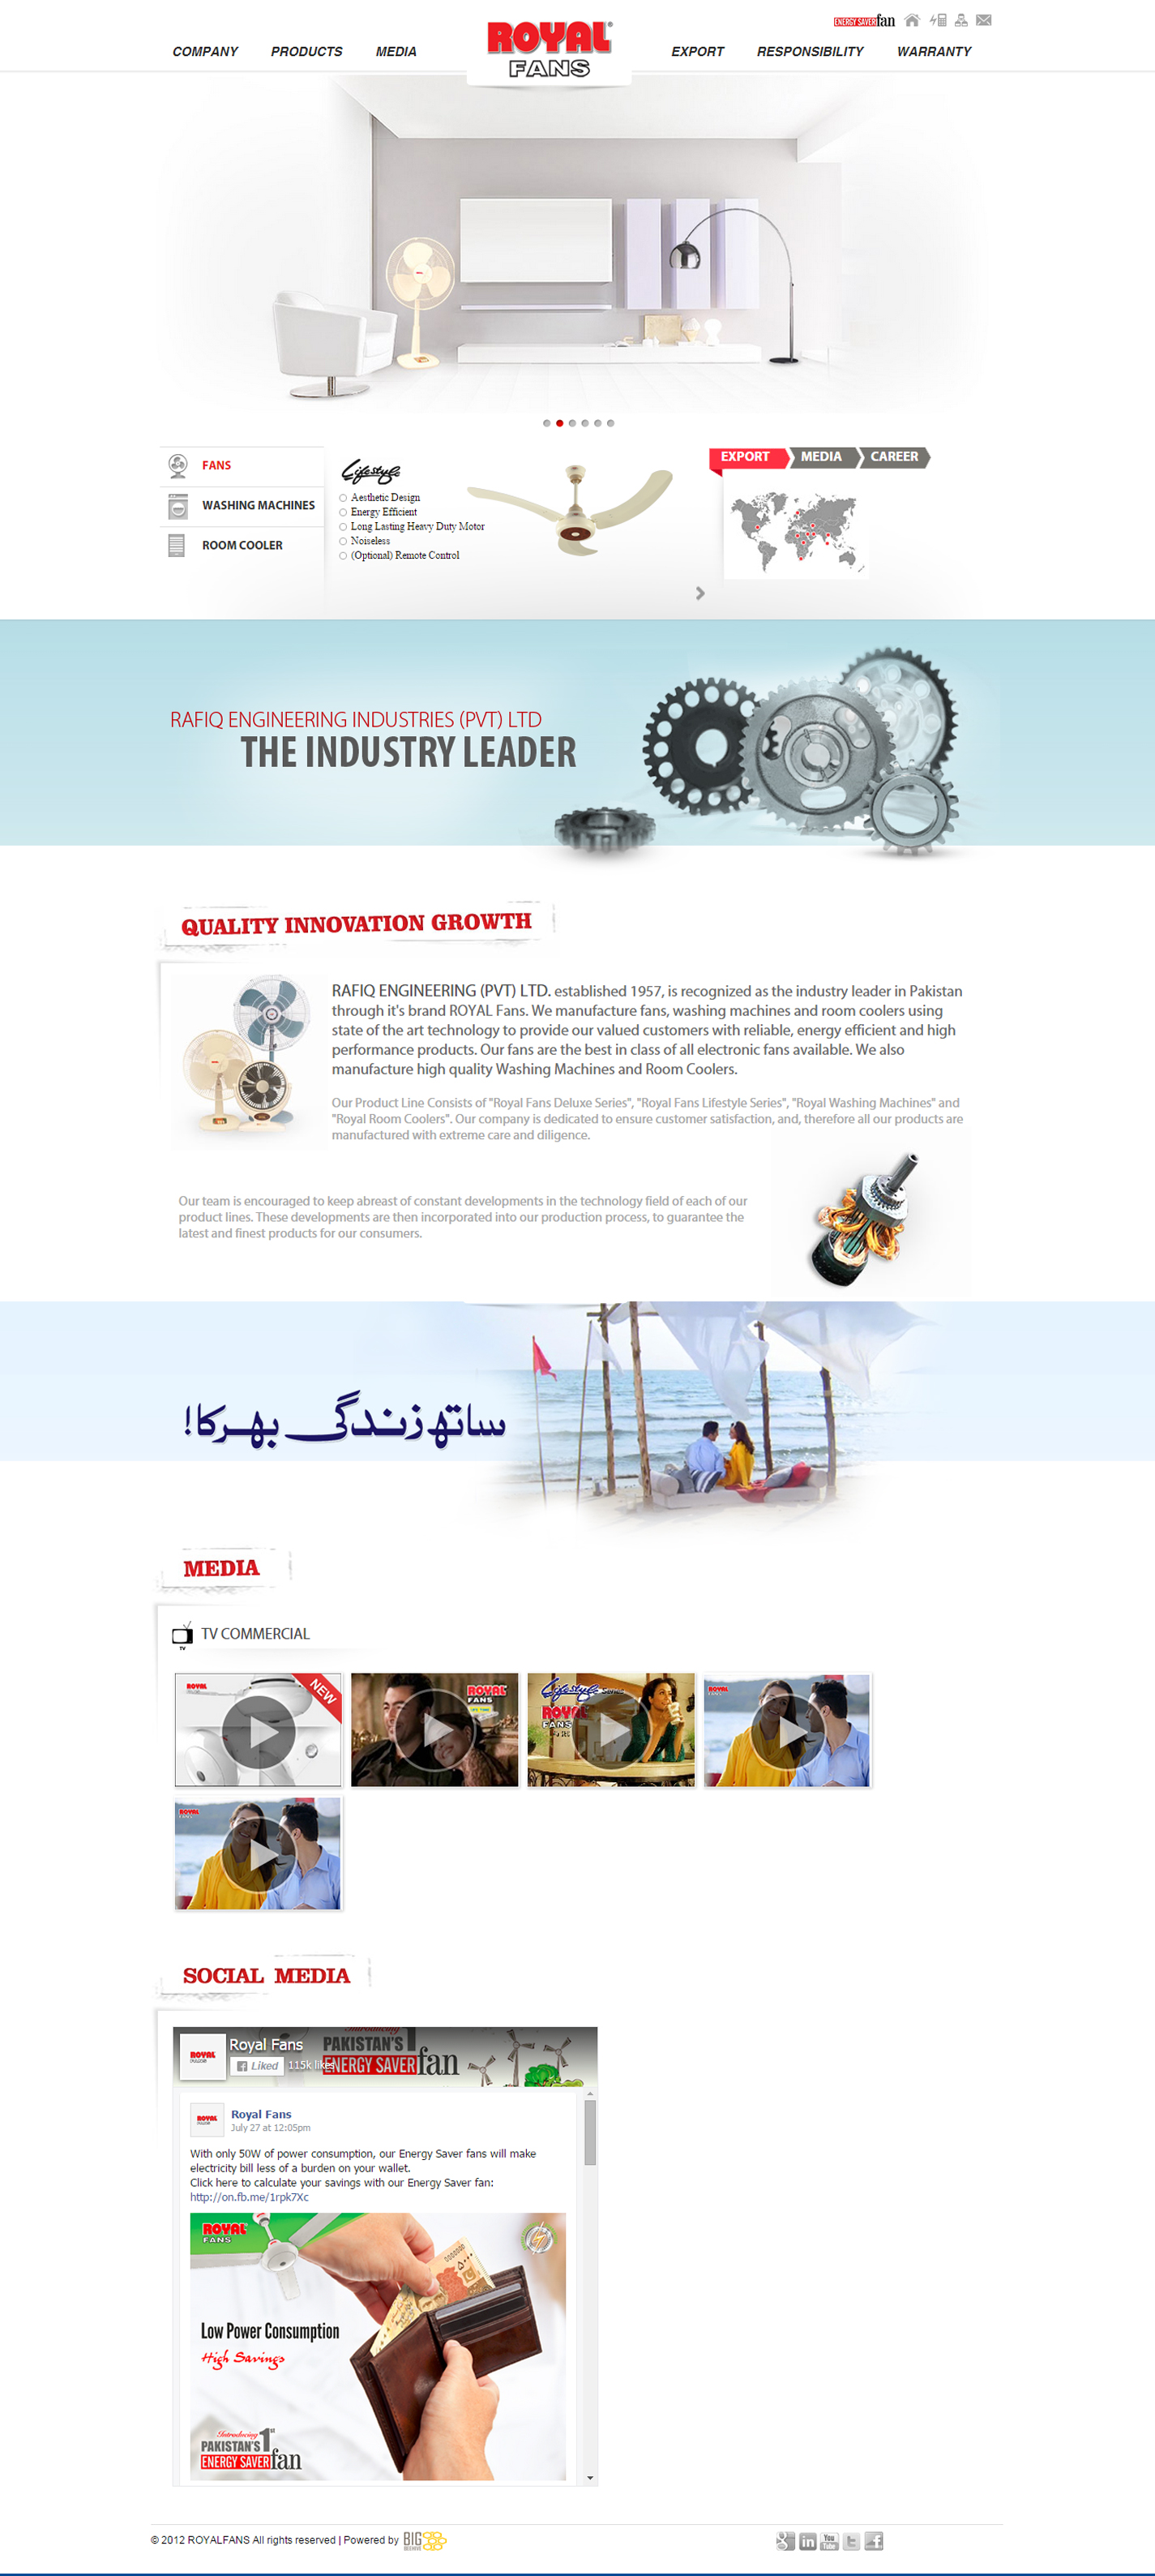
1bluemelon - Royal Fans are a Fans company with a long history in the industry, dedicated to providing the highest quality products to their customers. Royal Fans required a product website which also gave clients the capability to get a detailed view of their products.
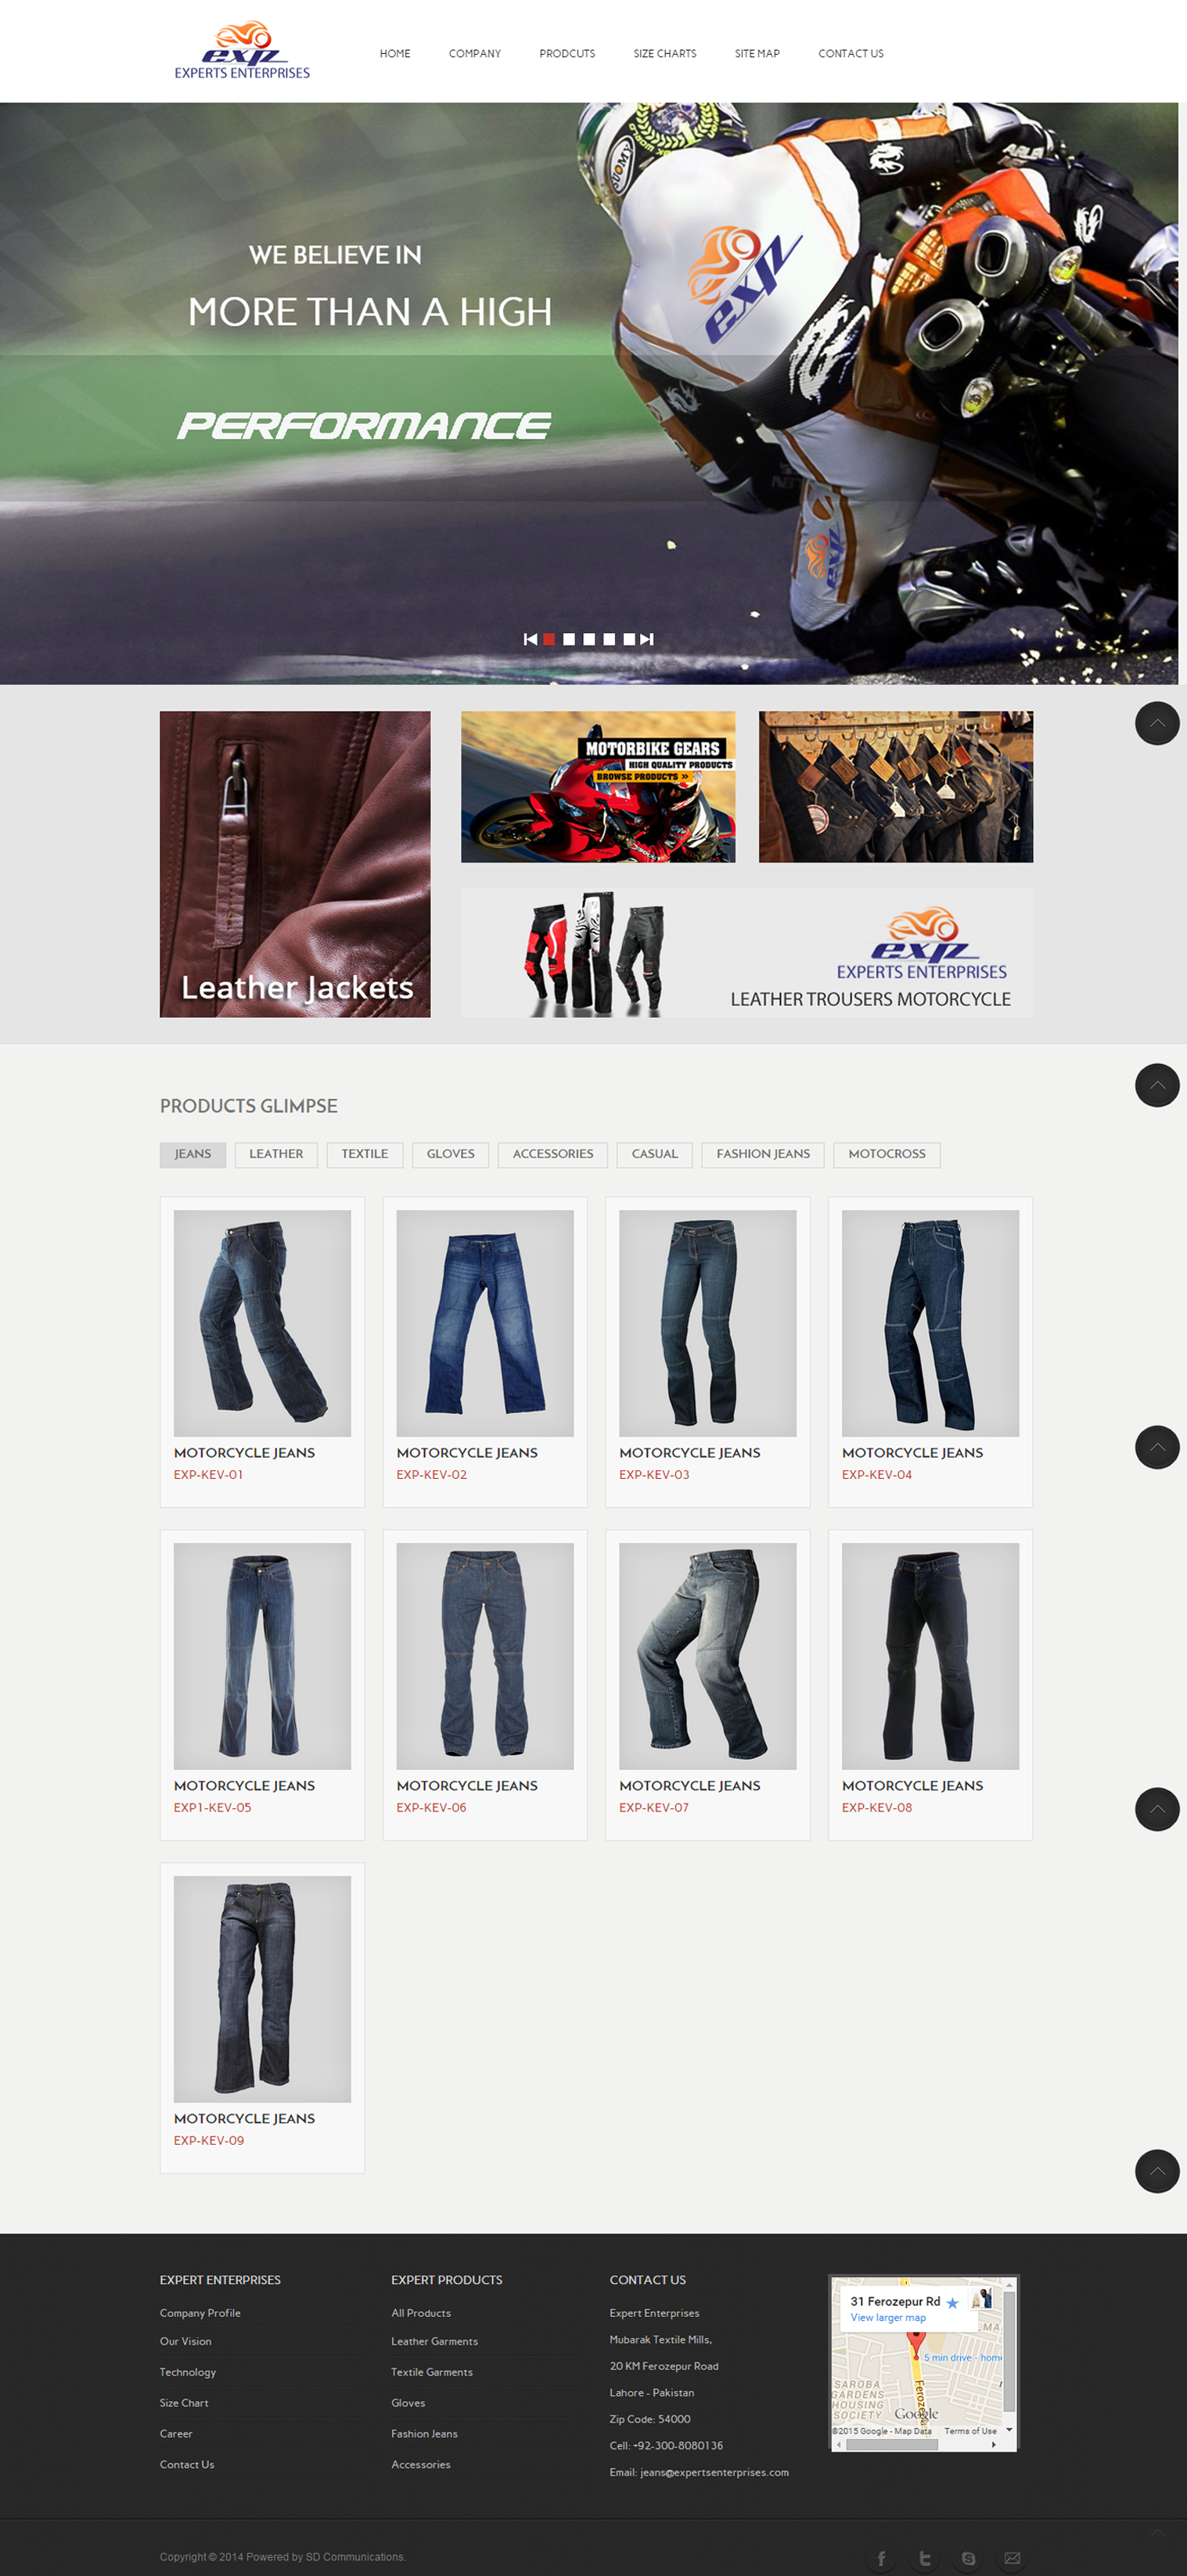
I designed and built a portfolio website for this this company. Its consists of very neat, unique and detailed products portfolio of the client and show perfection of the color scheme.
Zong CMPak - I designed and help to built a Portal for this HEC & Zong. HEC Administration and Zong will use this portal to facilitates students for their Internet Dongles and to maintain the records.
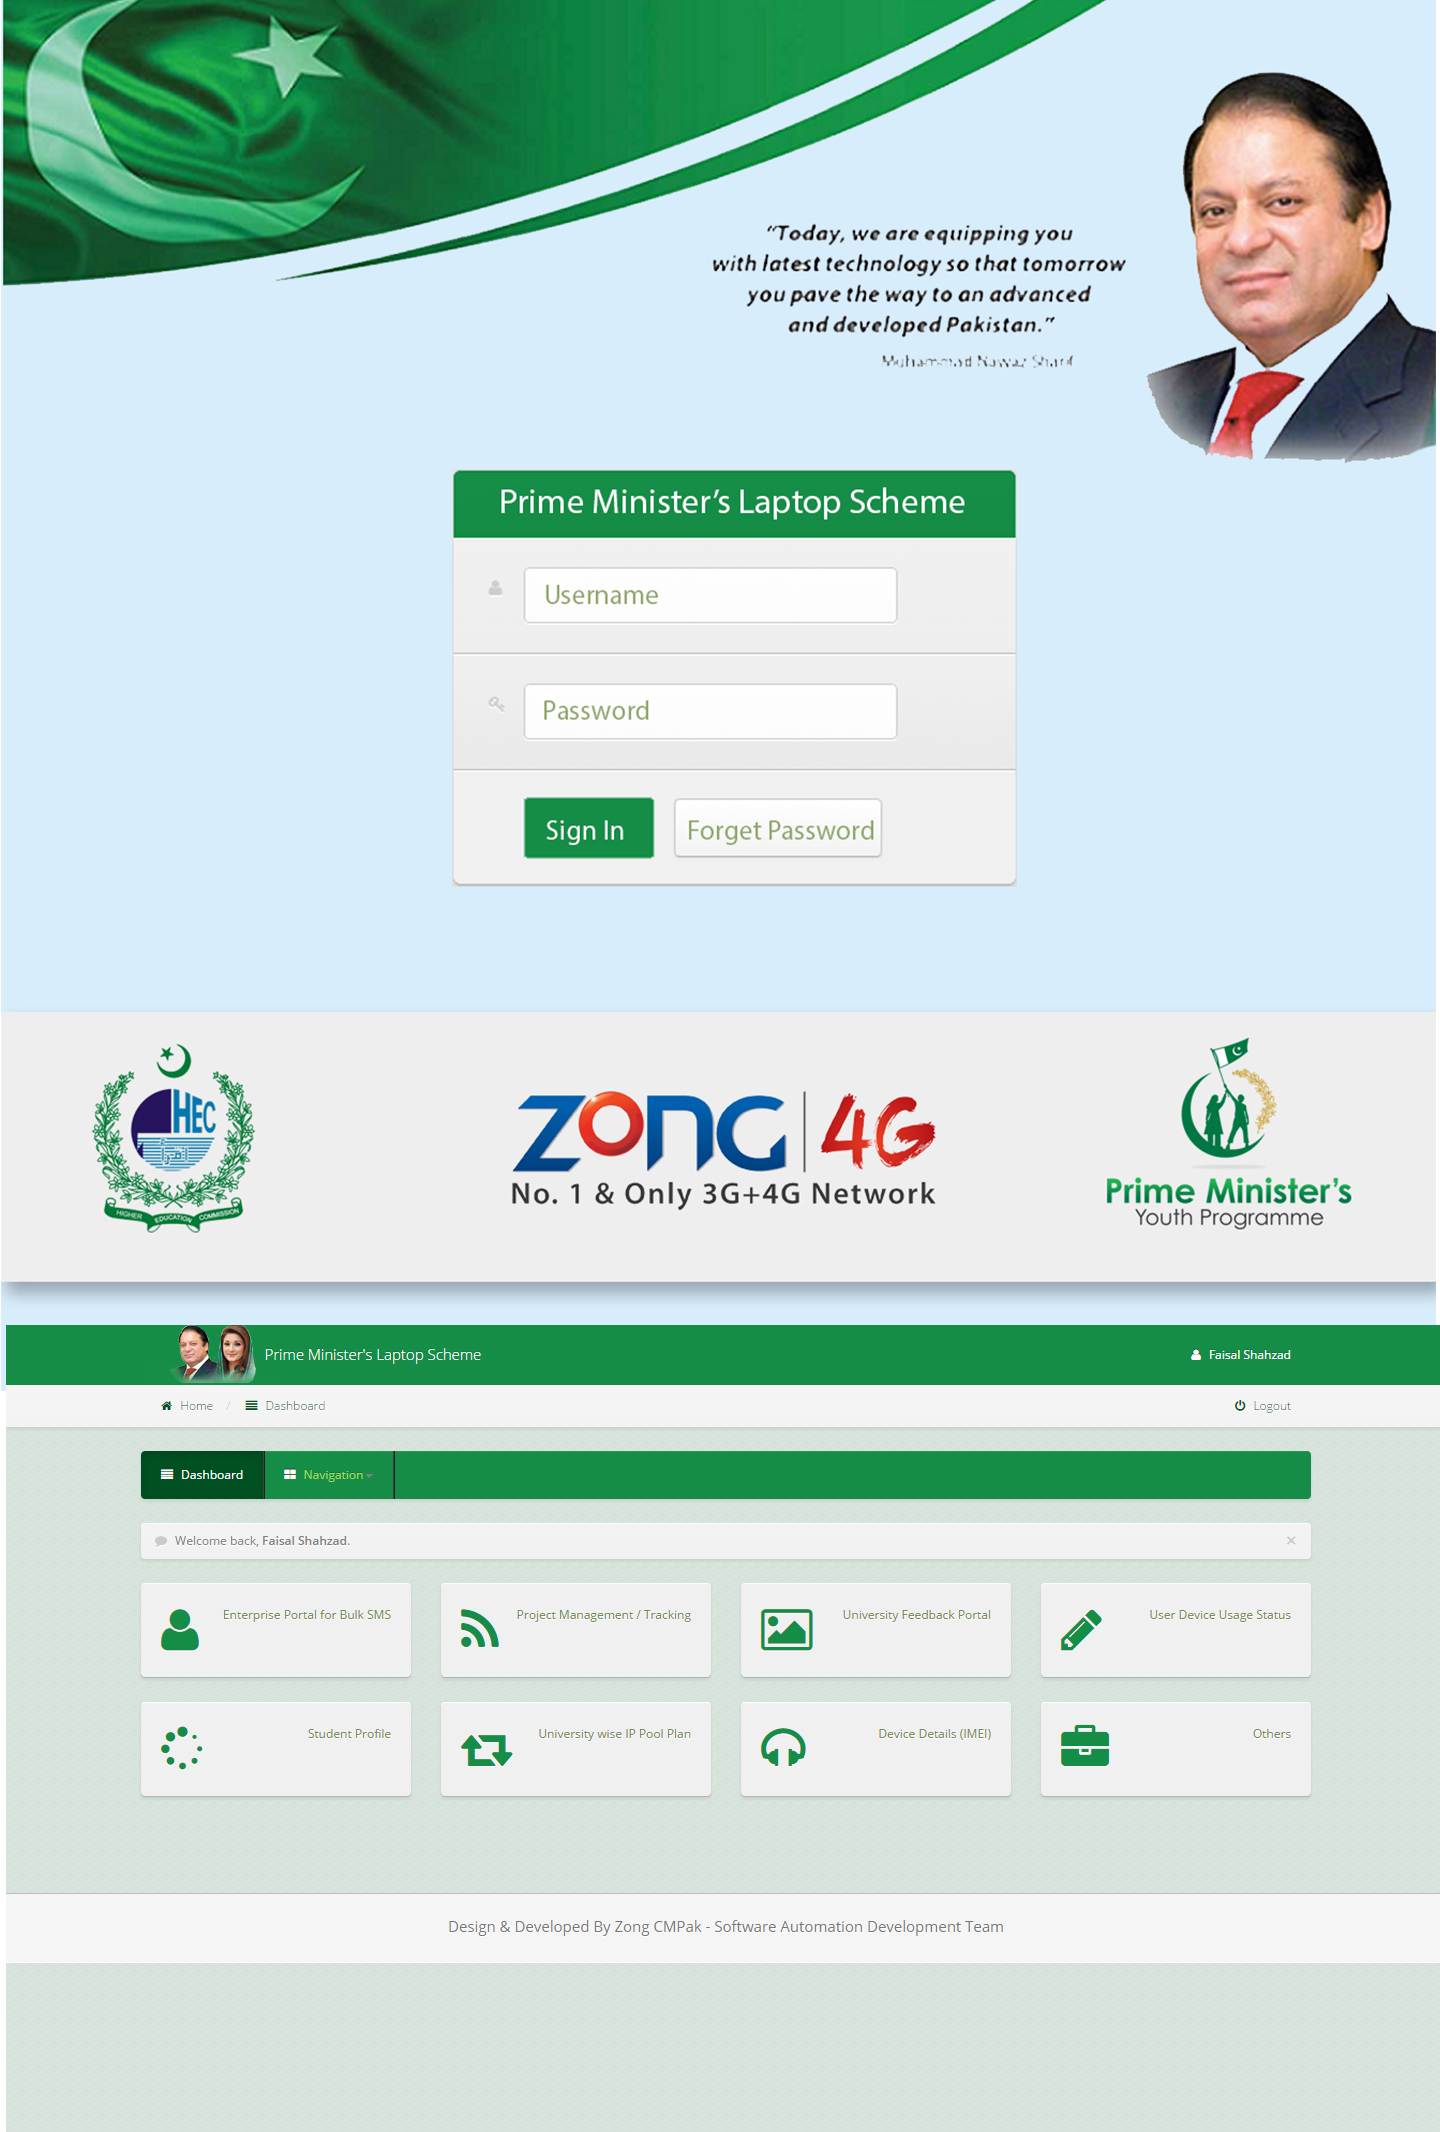
Zong CMPak - I designed and help to gather requirements with concerned departments to make this portal more professional and lively.
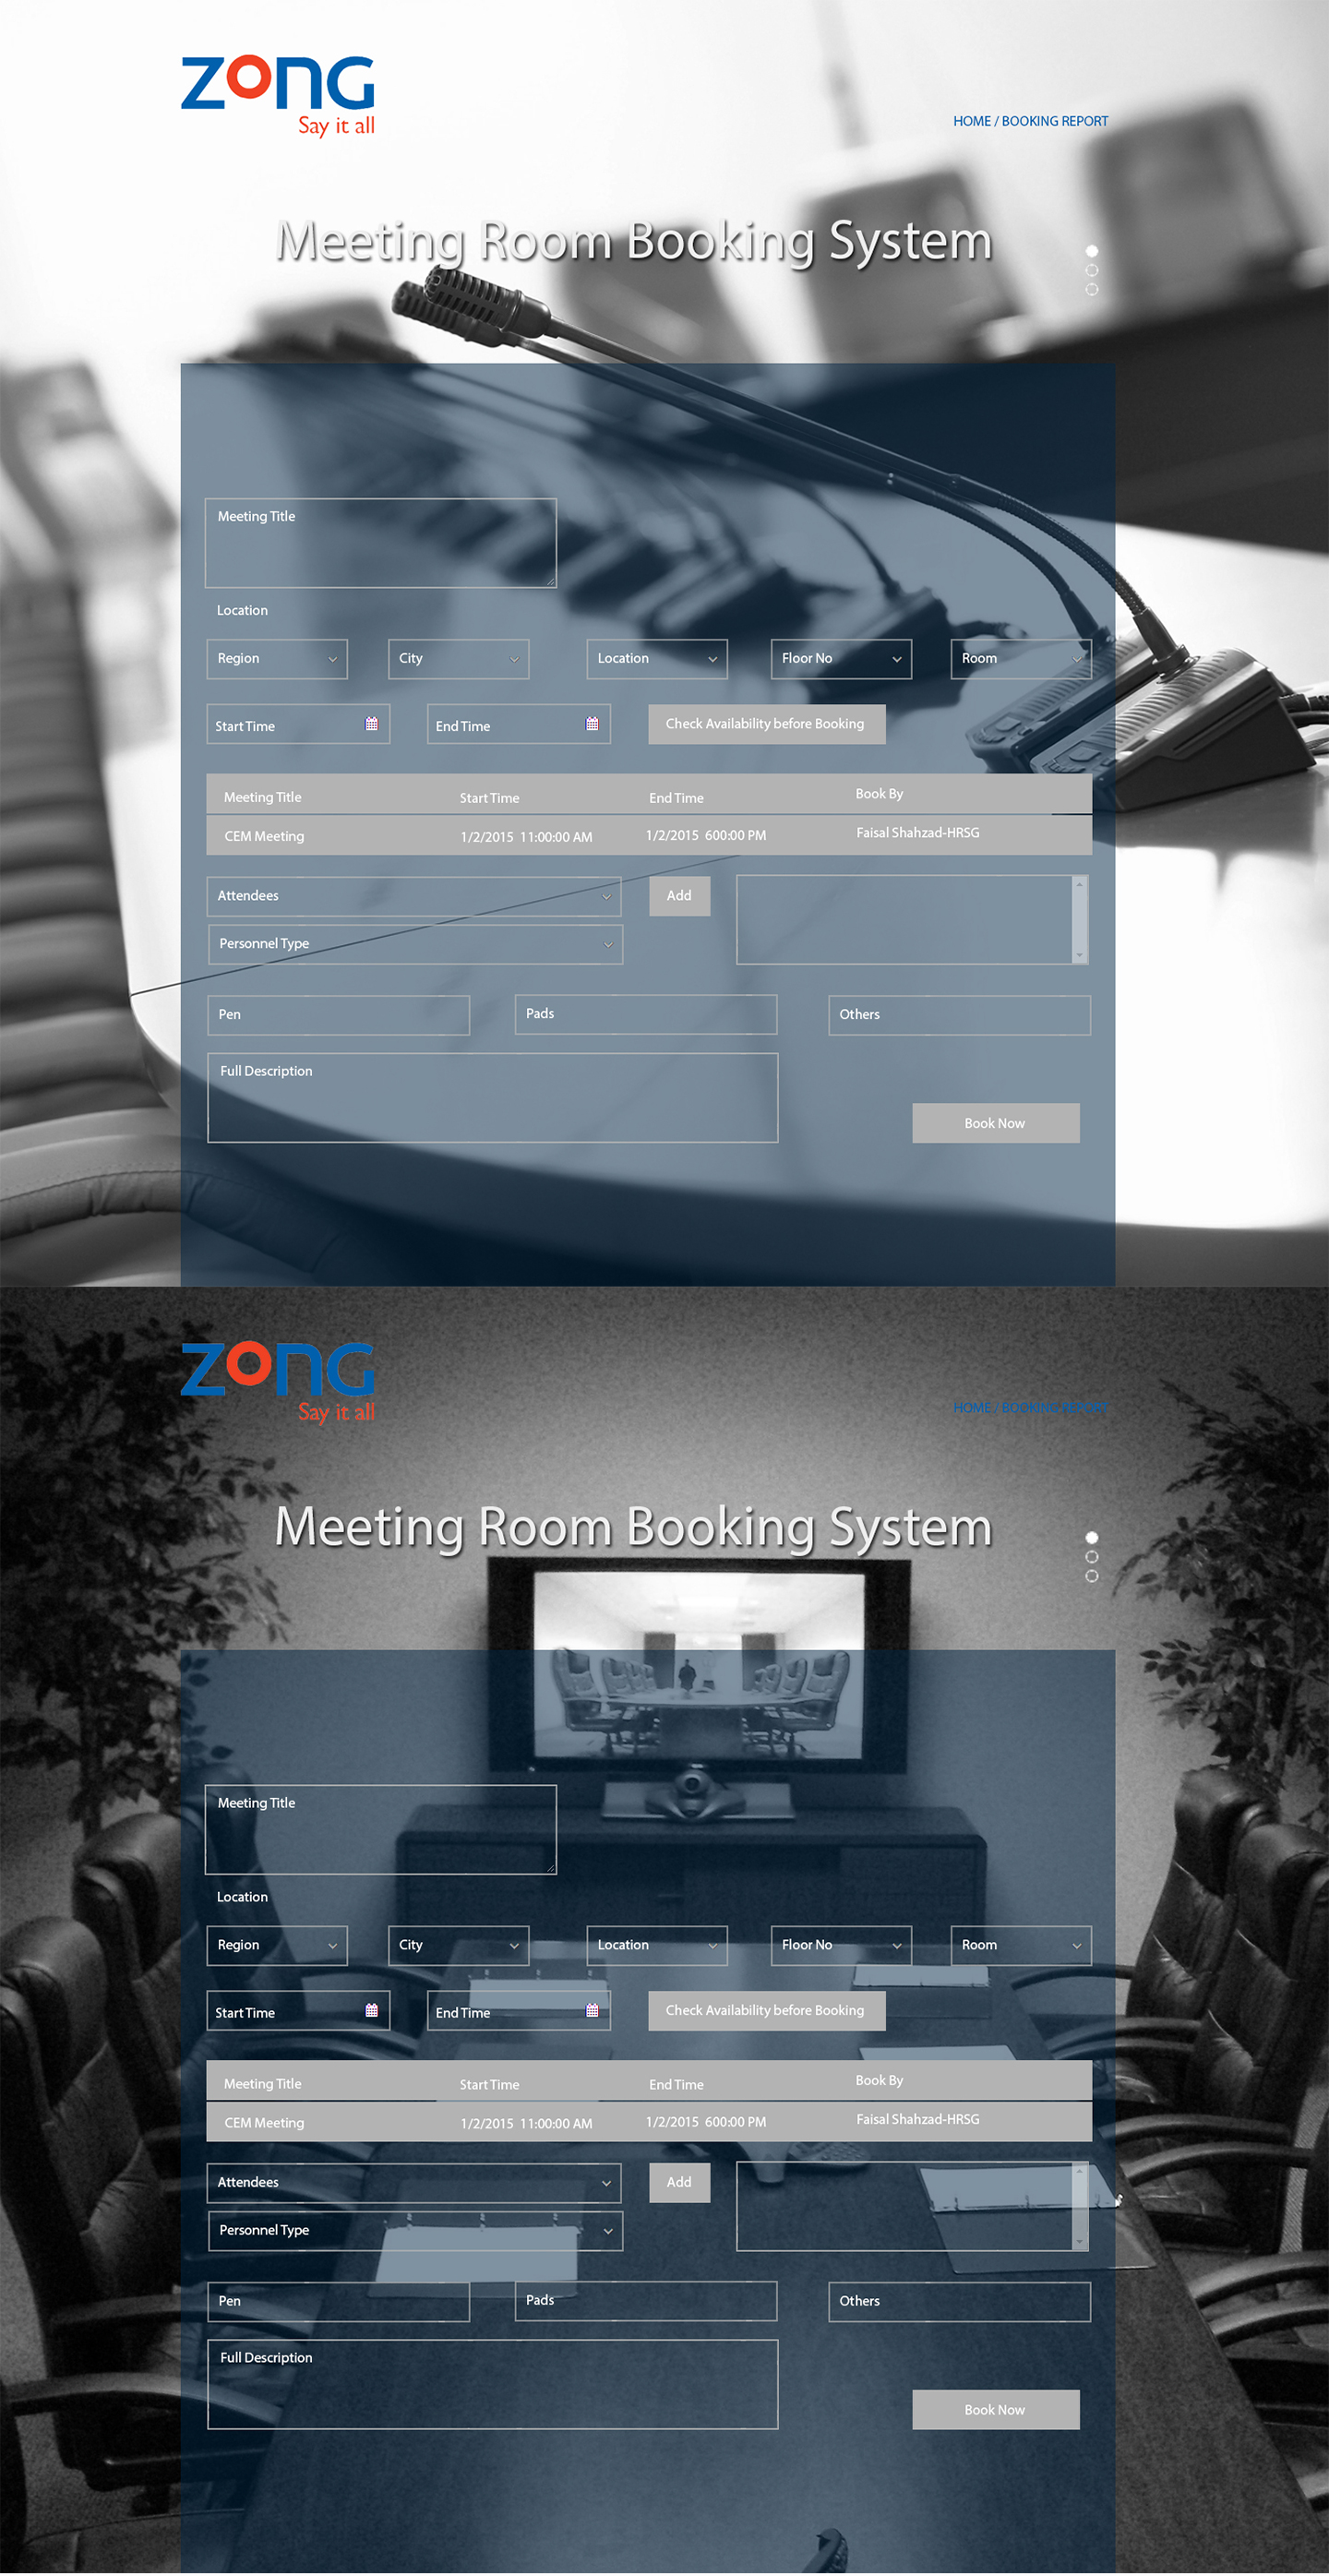
Zong CMPak - This portal facilitates Zong CMPak employee to book meeting rooms.
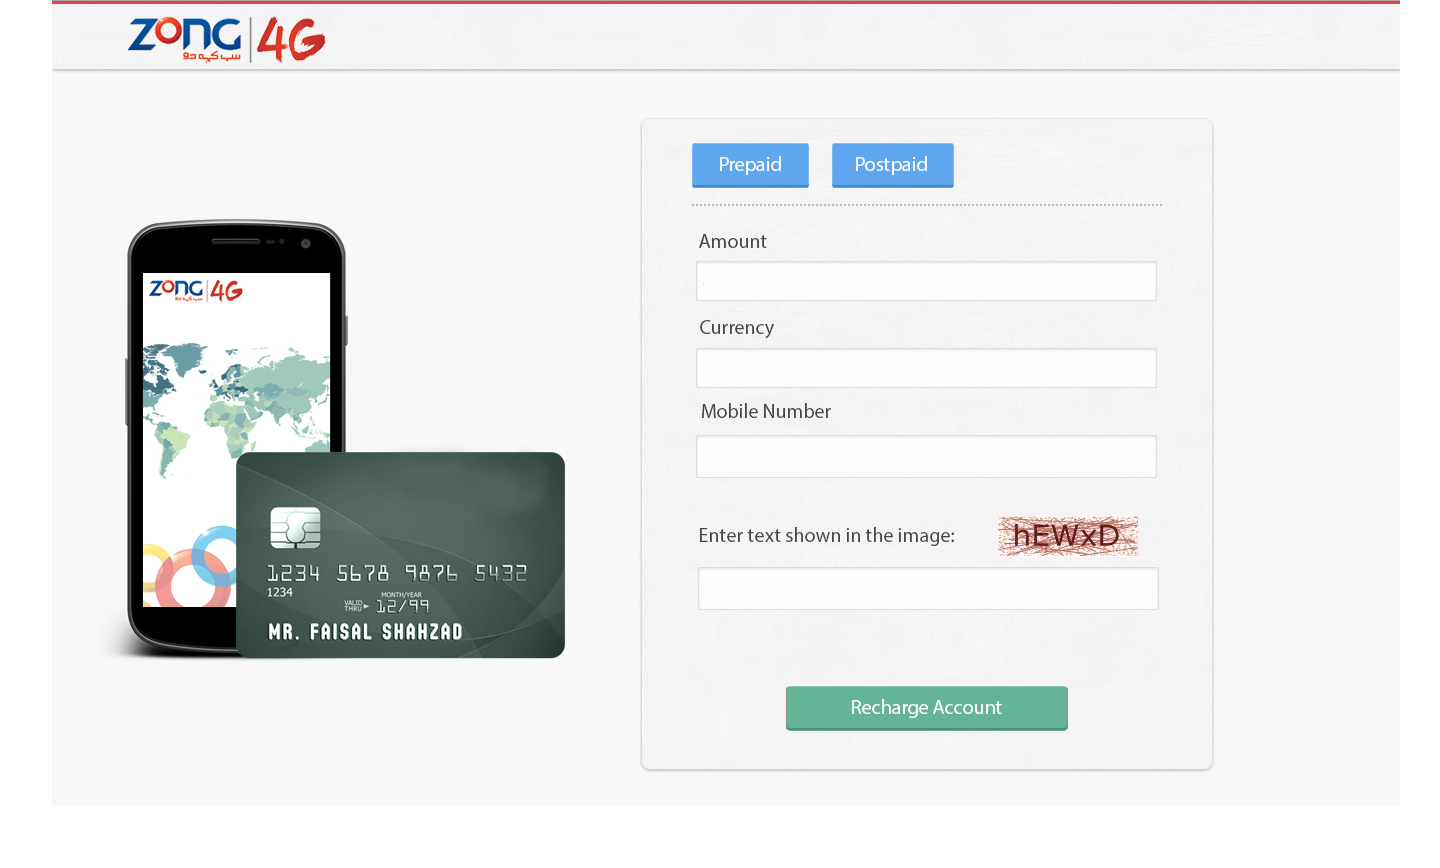
Zong Live - Online Payment Tool Page for Public to pay with their Credit/Debit cards.
Cenjorie - Corporate Identity and its branding works

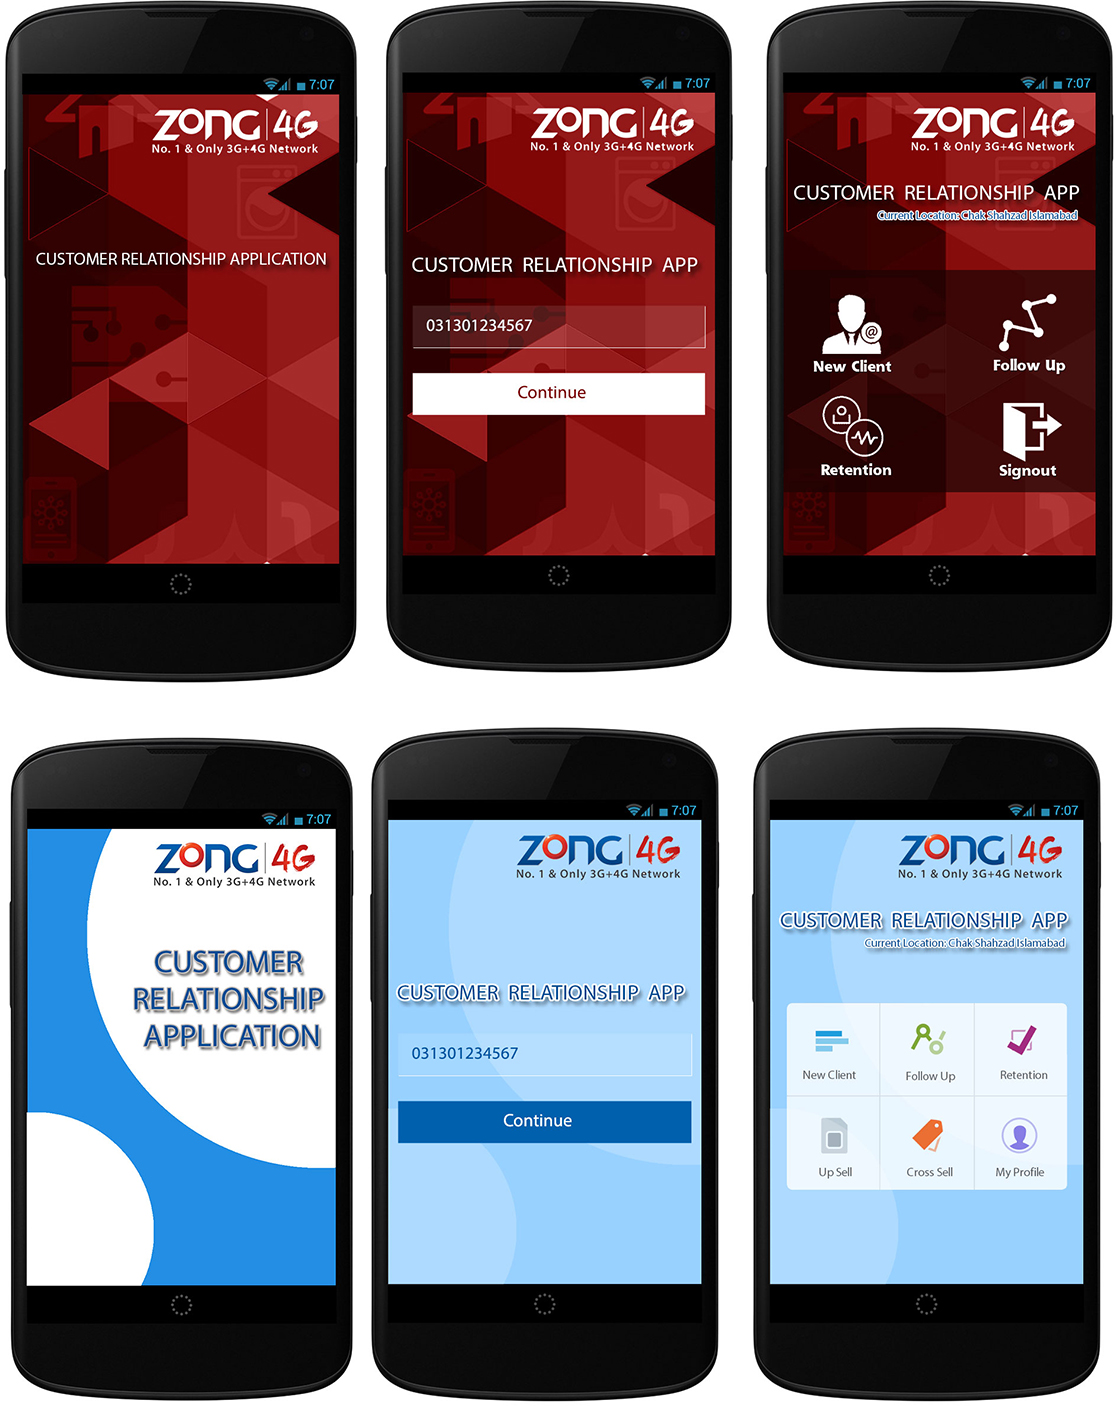
Internal Customer Relationship Mobile App for Manager to increase number of clients and add their records online.
Although the vast majority of the work I do involves the web, Occasionally I do print or logo work. This is an example of one of those projects, showing a logo and business/contact card designed and printed for a friend working in the Marketing sector. The logo is a monogram formed from her initials, and is intended to communicate an attitude of professionalism.
BSCS - 2006 - Bachelors in Computer Sciences from Virtual University of Pakistan
- Exuberant Group – Microsoft SharePoint 2013 Developer Training Certificate - Aptech – Graphic Workshop Certificate
- EDGE – Foundation Edge Course Completion Certificate
- British Council English Training Program
- VU – Virtual University of Pakistan – Character Certificate
- VU – Virtual University of Pakistan – English Proficiency Certificate
- KAS College – Media of Seminar Affairs Committee Membership
- EDGE – Flash Commerce Certificate
- CIP – Chef Institute of Pakistan – Certificate of Merit as Professional Chef Program
2020 - Present
JazzCash Pakistan Working as Lead UI/UX Product Designer in Business Department.
2016 - 2020
Telenor Pakistan Working as a UI/UX Solution Graphic Designer Professional in Digital Transformation Department.
2010 - Present
SD Comunnications Working as a Director Business Development.
2014 - 2016
ZONG CMPAK Working as a Business Web Design Consultant/ Graphic Web Engineer IT Department.
2012 - 2014
H2Wellness/BinaryTech Pvt Ltd Worked as Senior Graphic Web Designer/Developer
Plan, Prototype, Design and Incorporate Design changes
corporate identity-Logo, Stationery and Profiles
Website maintenance, Hosting Servers Backups,
Live Applications Installation and Support
Mobile Analytics, Mobile App Rating tool,
Mobile Map Integration tool, Mobile A/B Testing tool,
Mobile Performance Management tool and Mobile Crash Reports.
Responsive Frameworks like Bootstrap/Foundation
HTML/HTML5
CSS/CSS3/Sass
Complete hands on Adobe Suit, Figma, Sketch, Invision,
Experience with Adobe Illustrator & InDesign
Experience with:
WordPress, Shopify, GitHub, and all type of Mobile Apps designing.
Design Skills Logos, Corporate Identities, Web Portals, Websites, Banners, Portfolios, Desktop Applications, Mobile (Android/IOs) Apps, Mokeups.